Start at the Accounts receivable (main) directory:
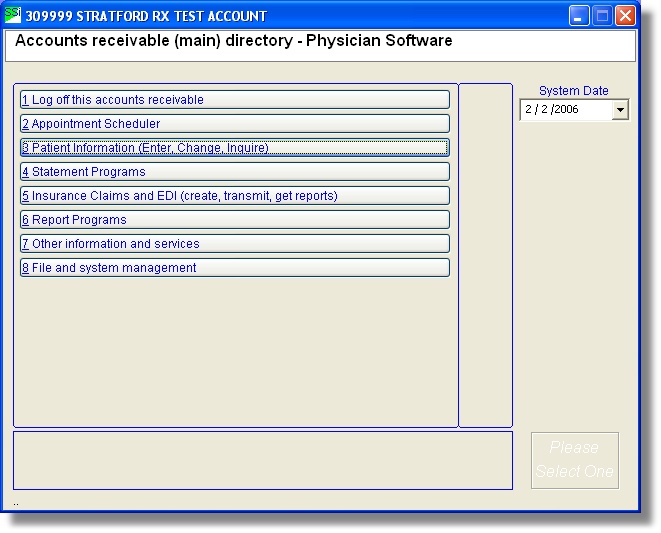
Click on the File and system management button.
This will take you into the System management directory.
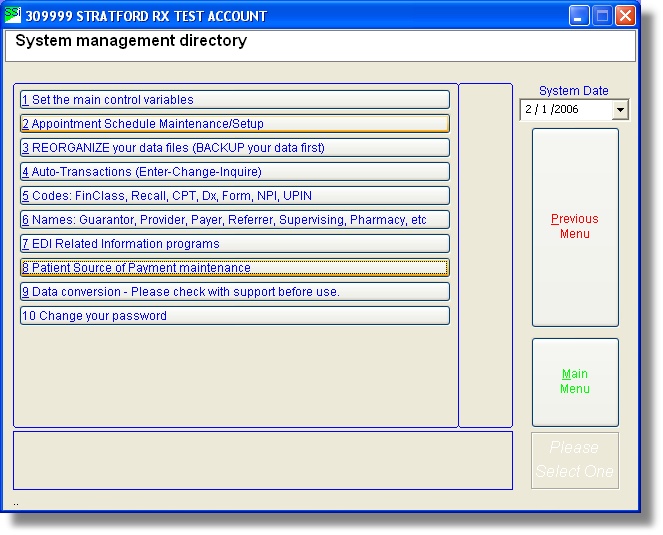
Here you need to click on Codes: FinClass, Recalls, etc.
Now in the Lookup data file maintenance screen:

Click on the Patient Financial Class Setup button.
Here is the Lookup Financial Class screen:
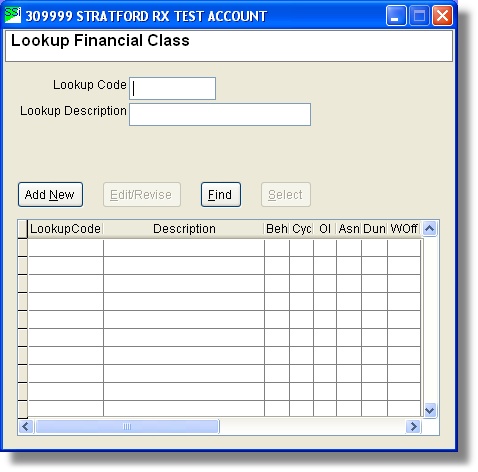
Click on the financial class you wish to edit and then click on the Edit/Revise button or click on the 'Add New' button.
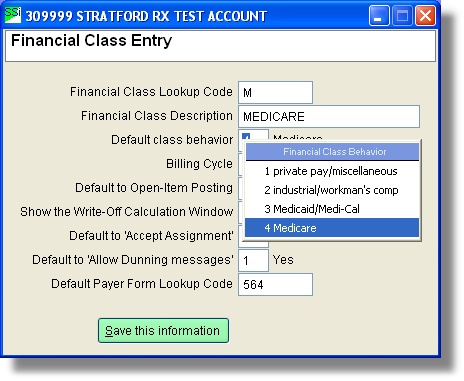
Here is the Financial Class Entry screen:
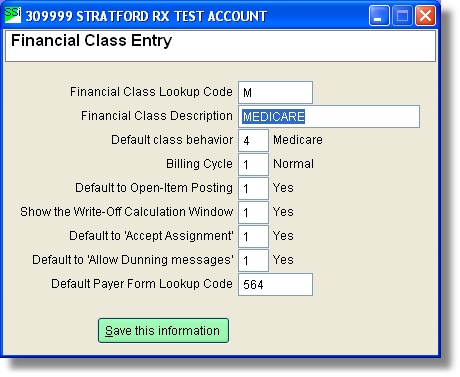
Make any necessary changes. After you are finished, click the 'Save this information' button.
Note: when you type in MEDICARE, the software will automatically default your 'Default class behavior' to '4'. Remember that 4 is the Medicare behavior. This is really the key to the financial class. The software does not have any idea what you are calling the financial class. That name is for you and any other 'humans' who look at your data. The computer only wants to know what you want to do when you use this financial class. Here you are telling the computer that you want it to process this account as though it is a 'Medicare' account. If you right-click on the 'Default class behavior' text box you can see the other options: