Tutorial for the ANSI X.12 835 setup
From the main menu of the program choose #8 and then from the second menu choose #1.
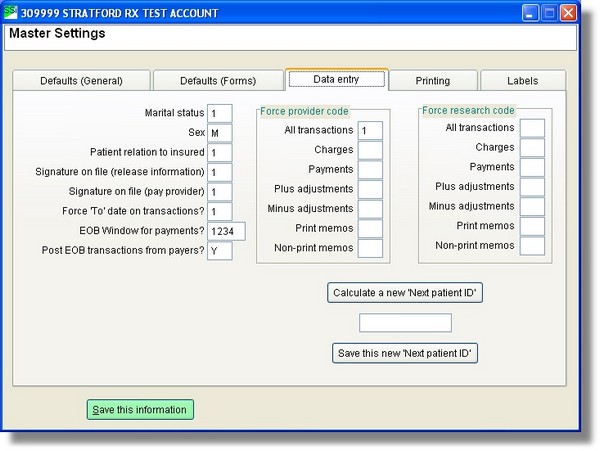
Please select the tab; Data entry
Find the selection: Post EOB transactions from payers?
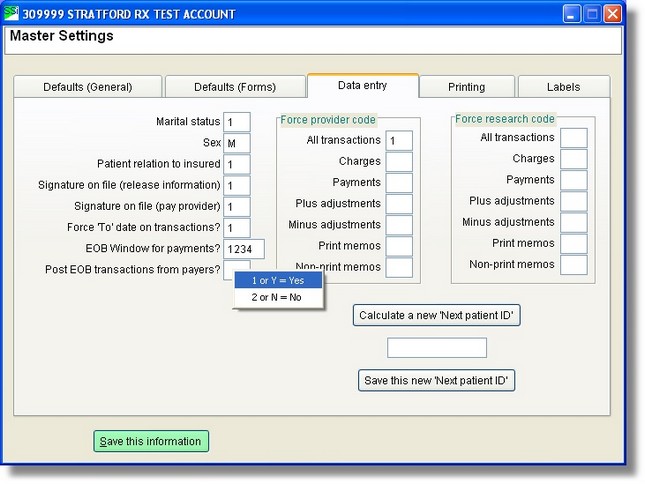
Right click on that field and click on Y for YES and then click the Save this information button.
Before you download your EOB you must first balance all your current transaction from #6 at the main menu.
The transactions that will be downloaded will be entered exactly as though you entered them manually. That is, they can be edited, deleted, etc exactly like any transaction that you enter.
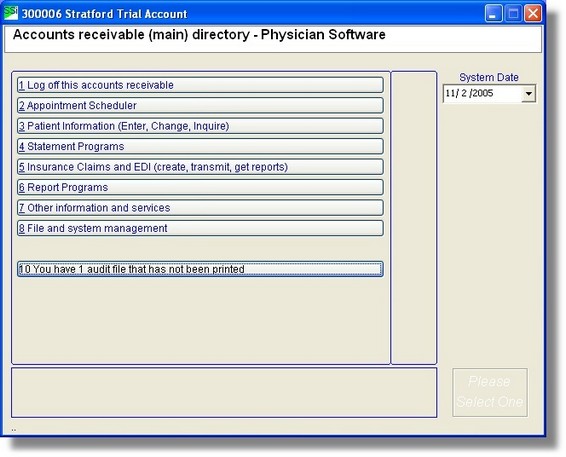
Once that is done you can now download your ERA Ansi 835 report from the payer mailbox. You will receive the mail under the option 10 at the main menu. Note: if you download your mail manually - many payers require you to do this - you must read the notes at the end of this section.
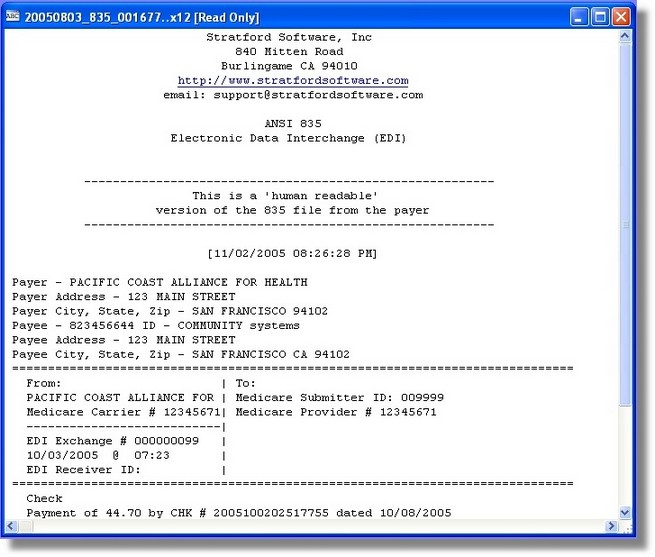
Select and 'View' the file.
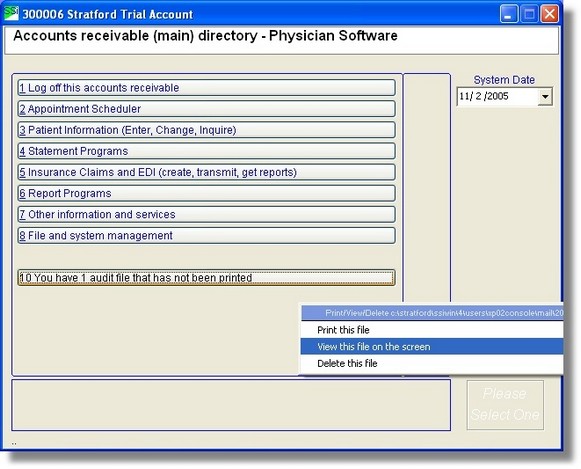
The software will detect the 'special' file and tell you it is a 'packed ANSI file' and ask you if you want to 'unpack' it.
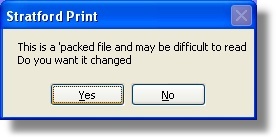
Answer yes as you cannot read the file in 'packed' form. After unpacking, you will then have an EOB that you can read on the screen and/or print. This report will tell you what is entered automatically.
From the main menu choose #6 and then #1 at the second menu to Post the Electronic Payments.
What if your payer requires you to download the 835 files manually?
Now some technical details that some people will need.
What if your payer requires you to download the 835 files manually? Some do. If you download the files manually, the Stratford software will have no idea where they are. If the Stratford software cannot find the files, it cannot help you as described above. Where can you put those files so that the software can find them? The 'Windows default' probably will not work.
The files that you get back from the payer are considered to be 'mail'. They go into the 'mail' directory. The mail directory must be unique to your computer so that another computer on the network will not write over your files. All the computers have a unique directory. For example, let's say your computer is named 'station24'. Here is where your computer's unique directory will be located:
C:\Stratford\ssiwin\4\Computer\station24
The mail directory will be here:
C:\Stratford\ssiwin\4\Computer\station24\mail
Any files you put in this 'mail' directory will appear on the main directory for you to view/print, etc. If you view an 835 file, the software will recognize that it is an Ansi X.12 file and cannot be easily read by you. Of course the Stratford software can read these files just fine. The Stratford software will ask you if you want to 'unpack' the file and create a nice report. Answer yes. When the Stratford software 'unpacks' the 835 file it will determine if the file can be automatically posted. If it can, you will do what was written above.
COB (coordination of Benefits) adjustment information
Medicare requires this information from the primary in order for you to bill 'MSP' (Medicare Secondary Payer) claims. If you are able to download the 835 ERA file and auto-post, there probably will be no reason for you know about this because the Stratford program will extract the information and save it with your payment from the primary payer. You should always get information about filing claims from the payer. Here are some notes based on Medicare requirements that may or not be correct depending on the specific payer.
Example: You bill a primary payer $100.00. The primary payer tells you (with the EOB/ERA) that they only allow $80. They say the patient is going to pay $20.00 and they are only going to pay you $50.00 because that is in your contract with them. (since you are a math wiz, you quickly determine that 20+50 does not equal 100) The patient has Medicare for a secondary insurance. Medicare does not want to pay you until they know what the primary payer did with your claim. This is why Medicare requires the CAS adjustments when you bill electronically.
COB adjustment information will create CAS segments in your electronic claims. CAS segments have 'group codes' and 'reason codes' and amounts. In the example above there would be a CAS segment with a group code of 'PR=patient responsibility', reason code 2 or 127 (there are many other reason codes, check the documentation) and an amount of $20.00
CO (Contractual Obligation) provider is financially liable
CR (Correction and Reversal) no financial liability
OA (Other Adjustment) no financial liability
PR (Patient Responsibility) patient is financially liable
Here is what CAS segments might look like in your electronic claims:
CAS^CO^45^20~
CAS^PR^1^130~
Note the 1st segment as a 'group code' CO, a 'reason code' 45 and an amount $20.00
After you have downloaded your "EOB 'mail' files, viewed them so that you have a report. There are now transactions in your common folder ready to post, automatically, if you are set up for it and if the payer supports the electronic EOB: ANSI X.12 835 transaction set. All Medicare contractors do support this.
Here is what you will see on the main directory:
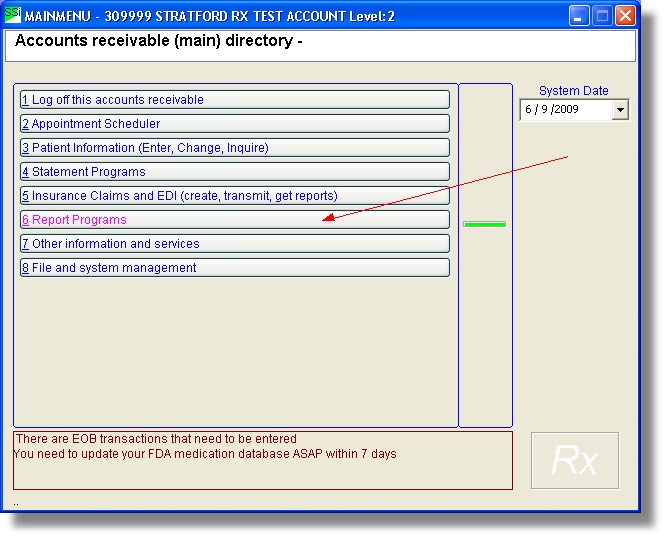
Select Report Programs
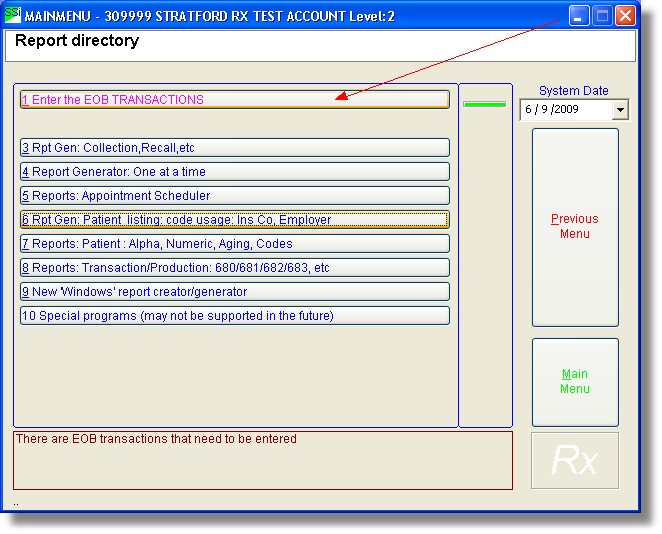
Select Enter the EOB Transactions.
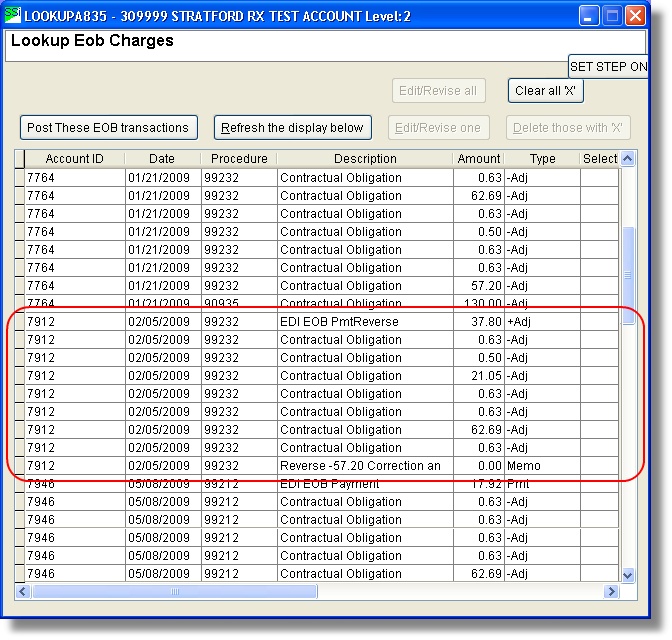
Aren't you happy that these can be entered automatically?
However, what if you don't want any of the transactions for account 7912 to be entered? You can select them one at at time, press the 'Edit/Revise one' button and make changes or delete. The other option is to click them so that you see the red 'X' in the Select column and then press the Delete those with 'X' button
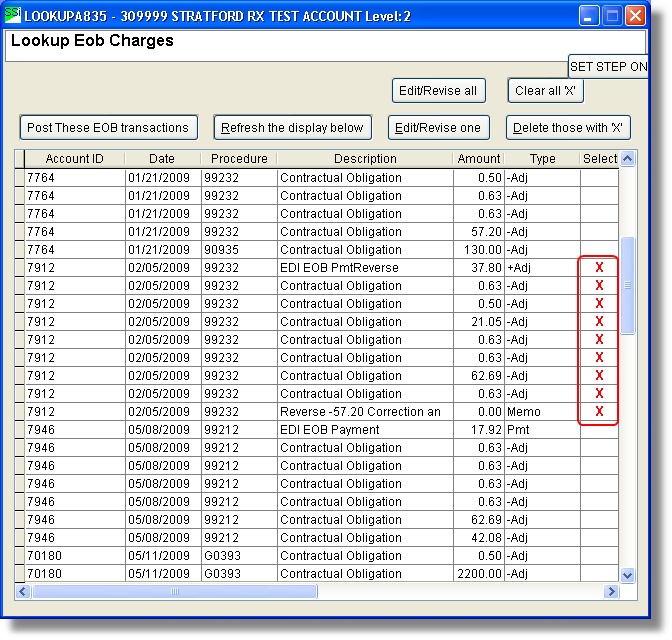
This can be a big timesaver if you have a lot of transactions to change/delete.
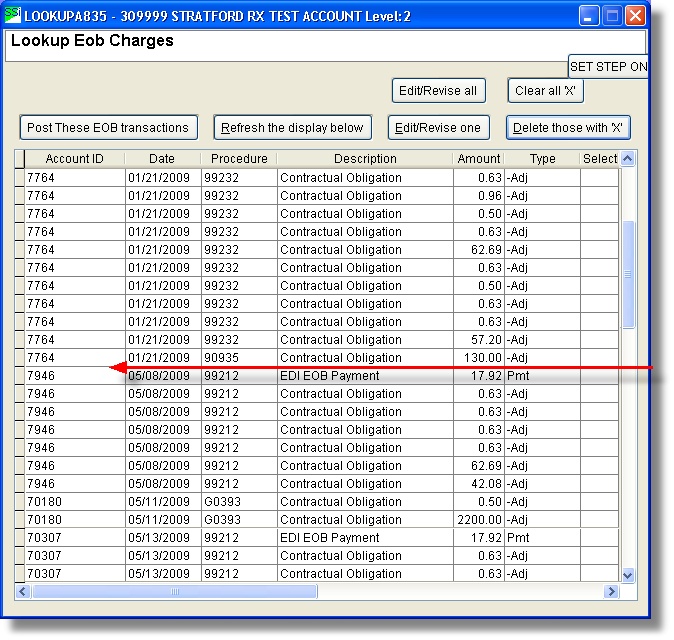
What if you want to delete all the Contractual Obligation transactions with the amount 42.08? You can click on the Amount header of that column to sort the transactions to make it easier to mark them.

Now what you are ready to post, press the 'Post These EOB transactions button. You will see a screen like this:
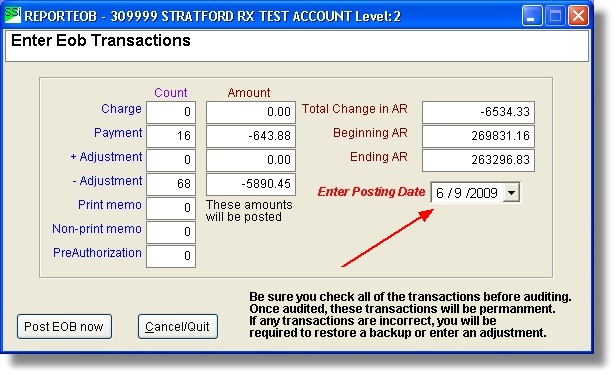
Change the posting date if you want. That date will be used on all the transactions that you post.
Press the Post EOB now button.
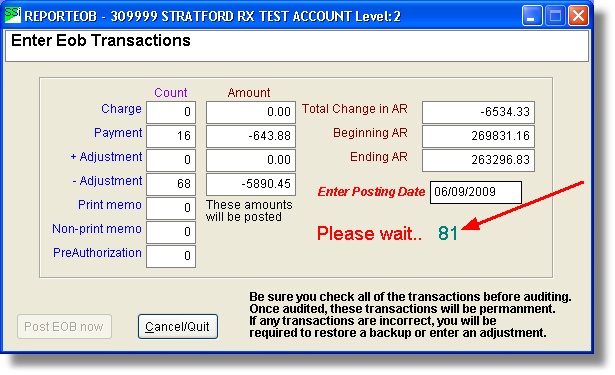
After the posting is finished, you will go back to the main directory. Remember what you have done so far is the same as entering transactions manually. These transactions are not yet audited. That means you can still delete them or make changes. When you are satisfied, you should audit them in the usual way. Select Report programs from the main directory, then Balance & Audit from the next screen.
Notes:
The program has built in defaults for the transactions that will be created when you auto post. What can you do if some transactions default to 'non-print' on statements? For example, what if a payment is created which you want to print on a patient statement? You can enter a special auto transaction that will override the default. If you enter a description in the auto transaction, it will override the default description. Here are some auto transaction lookup codes that will work:
EOB2 can override the printing and description of a payment.
EOB3 can override the printing and description of a plus adjustment
EOB4 can override the printing and description of a minus adjustment
EOB5 can override the printing and description of a print memo
We know that this note will not be that 'self explanatory' to most of our clients. Please contact Stratford support if you need help.