The information below is a supplement to the major topic: Setup for a Network. The information below is specific for the Vista/Win7 windows operating system that was common on computers delivered in 2007 and later. These notes may not be exactly like what you have on your computer as there are many versions of Vista/Win7 and even more 'OEM' versions of those operating systems. We used 2 Acer laptops with Vista Home Premium and 2 Gateway computers.
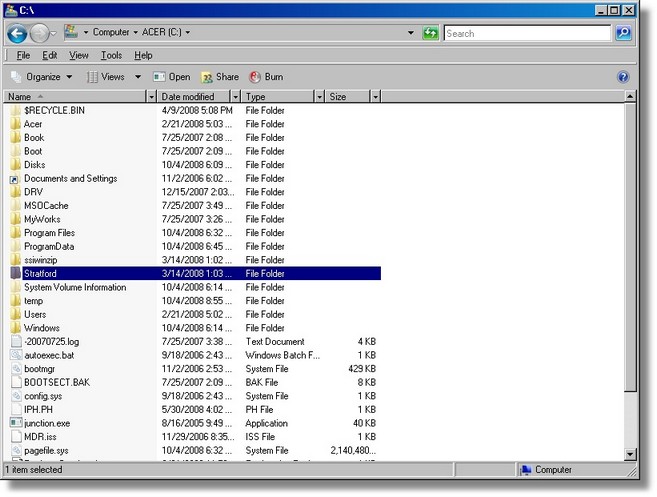
Use the windows explorer and navigate to the root of your C: drive or the drive where you have installed the Stratford program.
You will share a folder on the 'server' drive so that a networked workstation computer can connect and work with the same data as all other workstations. Below is the preferred method of networking the Stratford program.
These first few steps are performed on your 'server' computer.
That is the computer that has the Stratford programs and your data.
Highlight the 'Stratford' folder. Right-click and select 'Share'
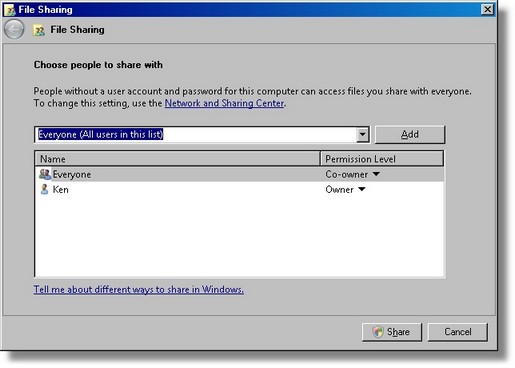
Highlight the 'Everyone' name in the drop-down list. Click the 'Share' button.
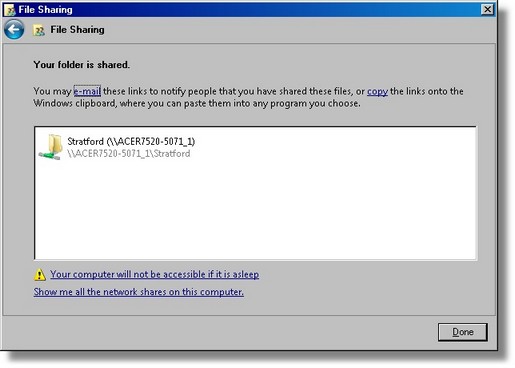
You should see a screen like the one below. Click 'Done'
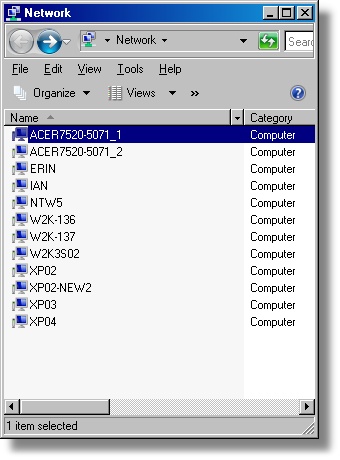
The steps below are performed on each workstation
that is connected to the server computer which was configured above.
Double-click on the computer name that has the Stratford programs and data (The 'server' computer).
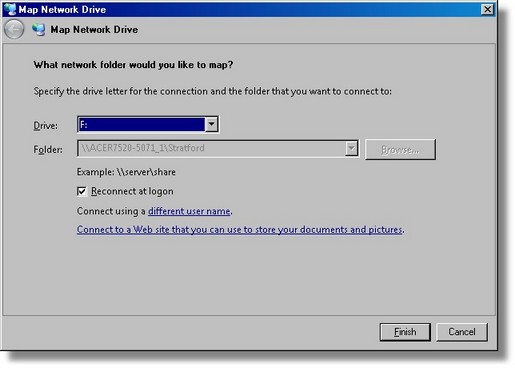
Highlight the shared 'Stratford' folder. Right-click and select 'Map network drive'

Select a drive letter such as 'F:' Your network might be less confusing to support/maintain if the drive letter is the same on all workstations that access the Stratford program on the server computer.
After mapping the shared 'Stratford' folder as F: you should see a screen like this:
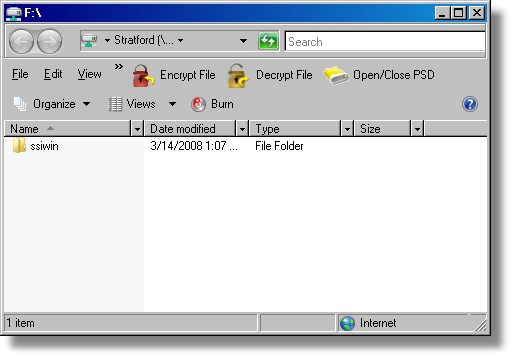
Now you can access the main Stratford folder and accounts like this: F:\ssiwin\xxxx where xxxx is the specific folder that has your data. For example, if your Stratford account number is 309999, you would access your data this way: F:\ssiwin\309999
You can set up a desktop icon on your workstation manually if you want.
| • | The 'target' is F:\Stratford\ssiwin\0\stratford.exe |
| • | The 'start in' is F:\Stratford\ssiwin\0 |
| • | The icon file is F:\stratford\ssiwin\0\ssiicon.ico |
There is a utility that will set it up for you, automatically. Using the Windows explorer, navigate to this utility program: F:\ssiwin\0\shortcut.exe. Double-click on this program and you will get a shortcut icon on your desktop like this:

If you get this far, you should be able to click on this icon and start the Stratford program.
Remember that the 1st time you run the Stratford program on a workstation, either a new install or an update, the program will need to register some 'OLE' components on this workstation. The same process will happen on every workstation that runs the Stratford program. The registration process will only work if you have 'Admin' privileges. We do not see any reason for this, but that is the way that Microsoft designed it. We keep hoping that they will do the right thing and get rid of this requirement. After the program is installed, you do not need Admin privileges anymore until the next update.