The information in this section is not necessary to use the Stratford software.
However, we believe if you have more than one person using the software - either for lookup, entry or both, then you definitely should read this section and setup your user groups and IDs and privileges.
When you first install the software, you will receive a unique folder that has the same name as your billing account number from Stratford. This insures that you are the only Stratford client with this folder name. There are many good programming and support reasons for doing things this way.
To make the initial training easy, we default the ID to the account number. This is only a default. We do not recommend that you continue to use this ID unless you have a single accounts receivable database and there is only one person who accesses the information.
By setting up a unique user ID for each person who uses the software, you can limit what each user does. Some of our clients have multiple accounts receivable databases such as with a billing service or a group of 16 doctors who share patients but want all their 'numbers' kept separate. This will allow you to enter any of the accounts receivable databases with a single user ID.
An example: (You have 20 users accessing the patient information)
| • | You can have one 'user group' that can only look at the information but can make no changes. You can assign 8 users to that group. |
| • | You can have one 'user group' that can make some changes - like addresses and phone numbers and appointments - but cannot enter charges or adjustments. You can assign 9 users to that group. |
| • | You can have one 'user group' that can enter charges and assign 2 users to that group. |
| • | You can have one 'user group' that can enter - adjustments (write-offs) and assign 1 user to that group (maybe this is the office manager) |
An example: (build on the example above): You have 12 doctors with different accounts receivable databases: 309816, 309817, 309818, 309819. This is only 4 different accounts receivable databases. The reason is because some of the doctors want to share their database - maybe they are related and/or work together on a lot of cases - whatever. For some reason they want to bill together.
If you are a 'techie' type you may want to know where the data is located. This is important because you are responsible for backing up the data at least one time each day - no less is acceptable. Here is where the data is located in this example:
C:\Stratford\ssiwin\309816 <- 7 providers
C:\Stratford\ssiwin\309817 <- 2 providers
C:\Stratford\ssiwin\309818 <- 1 provider
C:\Stratford\ssiwin\309819 <- 2 providers
You can setup a 'user group' so that 3 users can only access 309816, 309817, 309818 but they cannot access the data in 309819. As in the 1st example above, you can even limit what these 3 users can do when they are working in these 3 databases. We hope you get the idea. There are almost no limitations on how you can set this up.
We purposely do not want to elaborate too much as the duty of setting up users should only be done by one person (this is a general rule - but you do whatever works for you). If there is not enough information in this section, please contact Stratford support and be ready to prove that you are authorized to setup users.
The screen shots below should get you started:
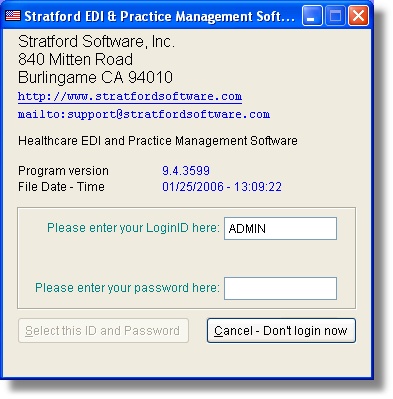
ADMIN is the 'built in' administrative account ID. You must use it to make any changes. The first time you login the password is 'PASSWORD' (must be upper case). You can change this if you don't want anyone else to be able to make changes. After all, anyone can read this manual and learn what the default password is.
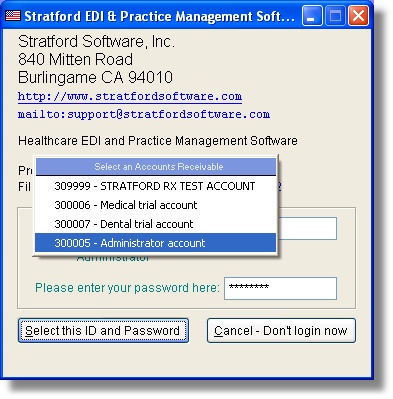
In the small popup window, select the 'Administrator account'.
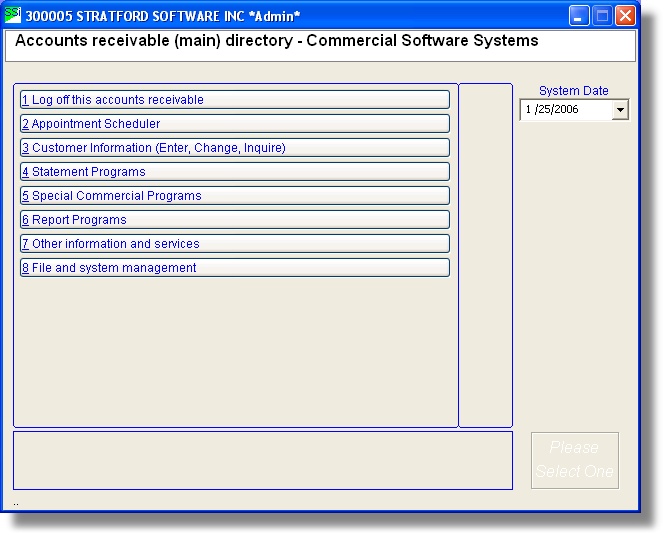
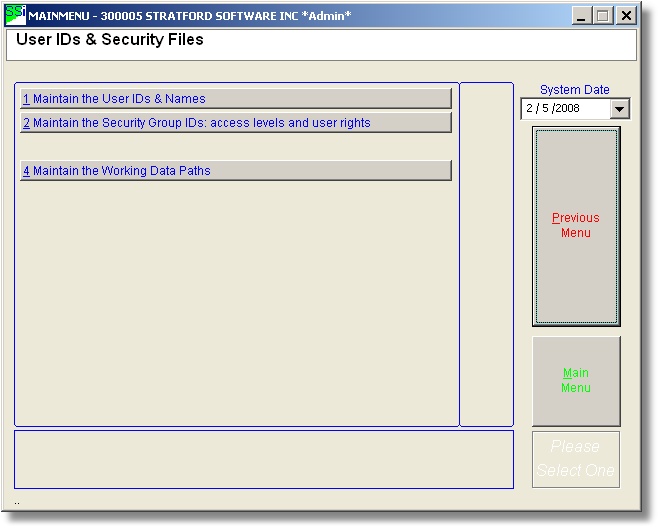
From the main directory select #8 File and system management. Next select #5 passwords (and other things). Last select #8 Maintain User/Security/Path Files.

These 2 selections are the key to the security of the software. Note that a default is already working before you get to this point. Here you are setting up your own custom security. No one at Stratford has access to your system. No one at Stratford can see what you are doing. Be careful. If you setup a password for a user ID and then you forget it, no one at Stratford can help you. Of course, the only ID that is critical is the administrative password because when you use it, you can change anything.
We will set up a few things here that should show you how to get in and out of the screens. What you do on your computer is up to you.
First select #4 Maintain the working Data Path. This is simple.
Just make sure the folder (we call it an A/R folder ex: C:\Stratford\ssiwin\309990) is there, then escape back to the directory above.
Next select #2. Here we will setup a 'user group'. This is the general security for a certain 'class' of user. Later you will assign users to a group. So if you have a single person who is authorized to enter minus adjustments (write-offs) then you probably want to setup a special group just for that person. Since this is about as 'authorized' as you can get in a healthcare billing system, maybe you want to give that person the ability to do everything.
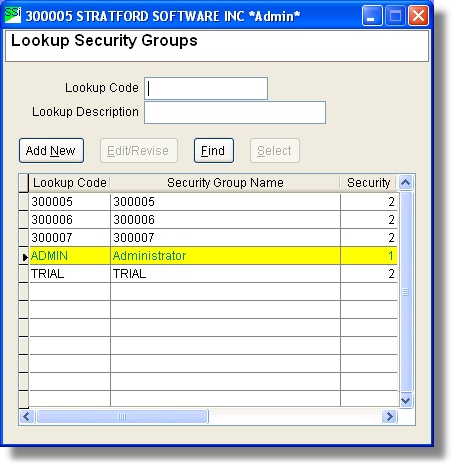
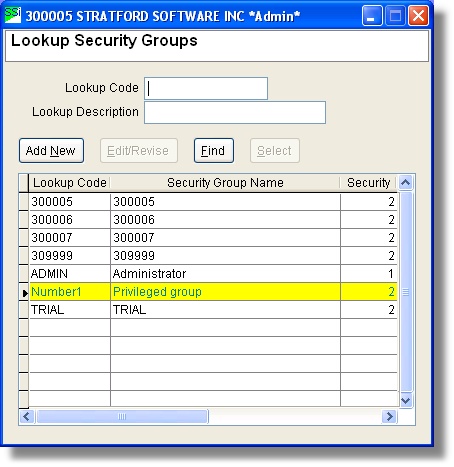
Select #2 Maintain the group IDs. If you press the 'Find' button with nothing in the lookup text boxes, you will see all the groups that are setup by default.
Press the 'Add New' button or press ALT+N
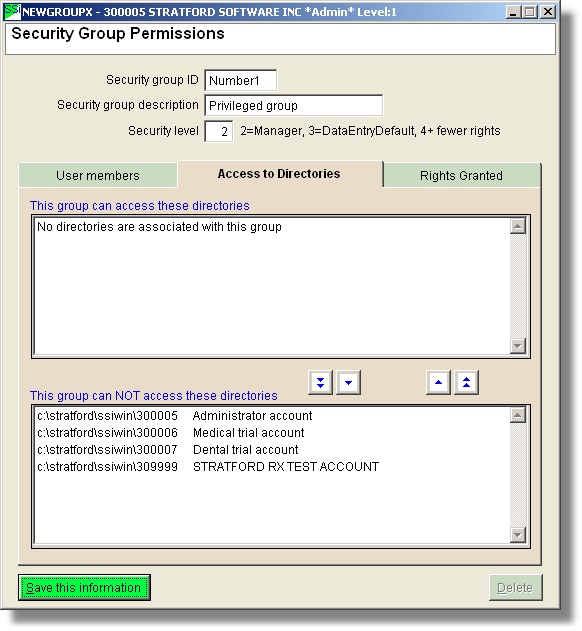
Here we entered a group ID name: 'Number1' since this group will have all privileges. We entered the description "Privileged Group"
You don't have any users setup yet, so leave that tab alone.
First you can add directories that this user can access.
| • | Note that you will only see paths that have been used at least one time. That means you must log in using the default ID for each path. |
| • | Note in this screen there are no directories associated with this group (of course not, it is new). In the lower text box you only see the administrator account. Since that is a special purpose account and cannot be used for healthcare billing, we suggest that you do not assign it to any group. If this was a 'real' situation - in the example above, you would see 4 directories in the lower text box. You would highlight one or more of them and then press the arrow to the right of the upper text box to move the directories 'up' so they can be accessed by this user group. |
Now press the 'Rights Granted' tab.
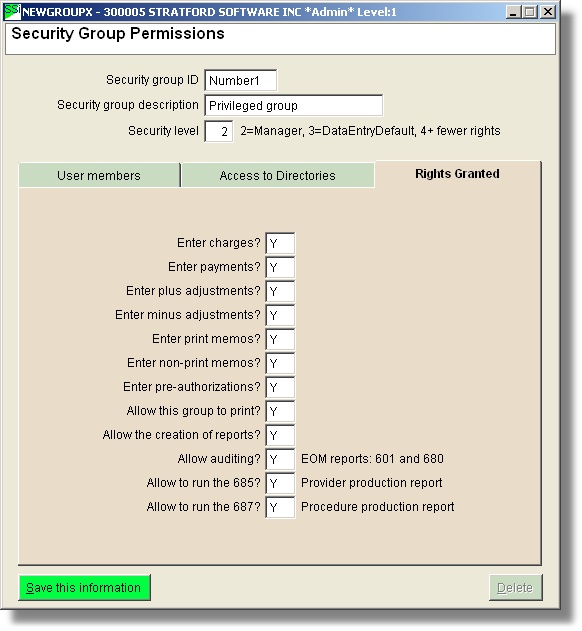
Here we have entered "Y" (for Yes) in all the text boxes because we want this user group to be able to do everything. If, for some reason, we did not want this person to be able to enter charges, we would leave the 'Enter charges?' check box blank or enter "N" (for No.)
This should give you the idea of how to setup a user group. Press Esc (Escape) or click the 'X' window closer in the upper right. This will put back in the security group lookup window where you can see the new user group that you just entered.
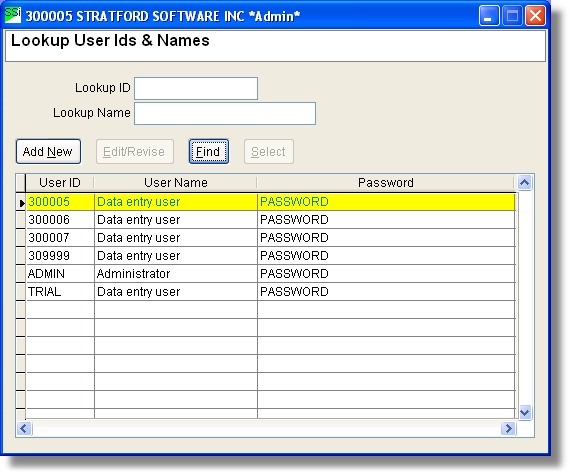
Press Escape to get back to the menu. Now select #1 Maintain the User IDs and Names. If you press the Find button with nothing in the lookup text boxes, you will see a list of the existing default users.
Press the 'Add New' button and you can enter your own custom user ID.
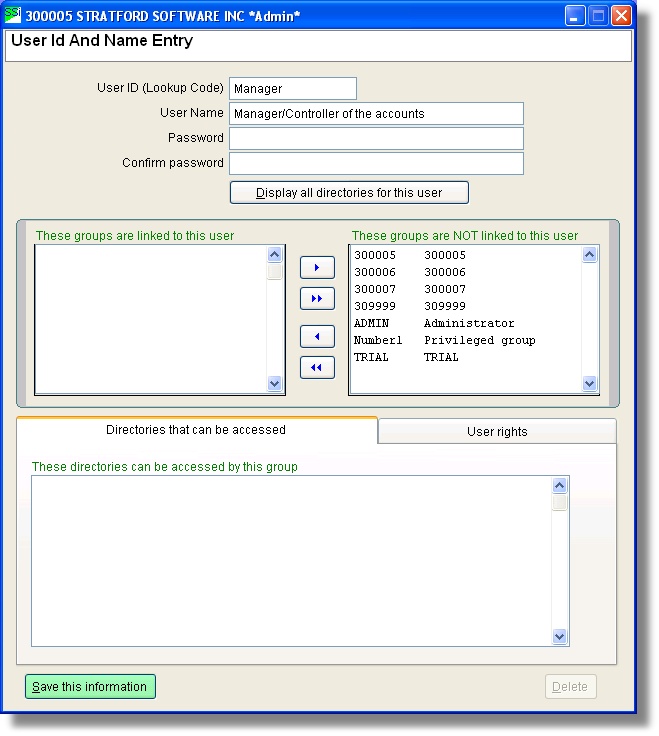
Here we have entered the Login 'User ID' 'Manager' with the description 'Manager/Controller of the accounts'
You can use the arrow buttons in the upper center to move the 'possible groups' to the left text box. The upper left text box displays the group(s) that this user ID belongs to. You must move at least one or this user will not be able to log in anywhere and will have no rights.
Note that when you highlight a group id/name on the right, you will see the directory paths that this group can access in the lower text box. This should allow you to know that you are setting the user ID up the way you want.
You can press the 'Display all directories for this user' button and you will be able to see the accounts receivable databases that can be accessed by anyone who logs in with this user ID.
We realize that this 'mini tutorial' is not complete and it could have much more, but we believe it will get you started. If you have very specific needs you will need to contact Stratford support for more information. You should be aware that nothing here is 'permanent'. That is, if you discover that you have not set things up the way you want, maybe a specific user ID can do more than you wanted, you can simply change it here. The change will take place the next time anyone uses that 'user ID'.
******************************************** This is the end of the 'basics' for the security setup.
Troubleshooting.
You add a new accounts receivable and you do not see it listed so you cannot assign it to a group, user, etc.
From the menu:
Select #4 and you will see this data entry text box:
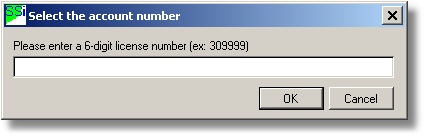
Here you can enter the 'missing' A/R number (example: 309999). The software will look for the folder for this A/R. If it is setup correctly, the number will be added to the listing above and you can assign it to a group.
There are other possible issues that may not be described here. Please contact Stratford support with any questions. As stated above, we are not able to give out information on this section to anyone unless they can prove that they are authorized to make changes. This really should not be a problem since you can password protect the ADMIN ID.